%20(1).png)
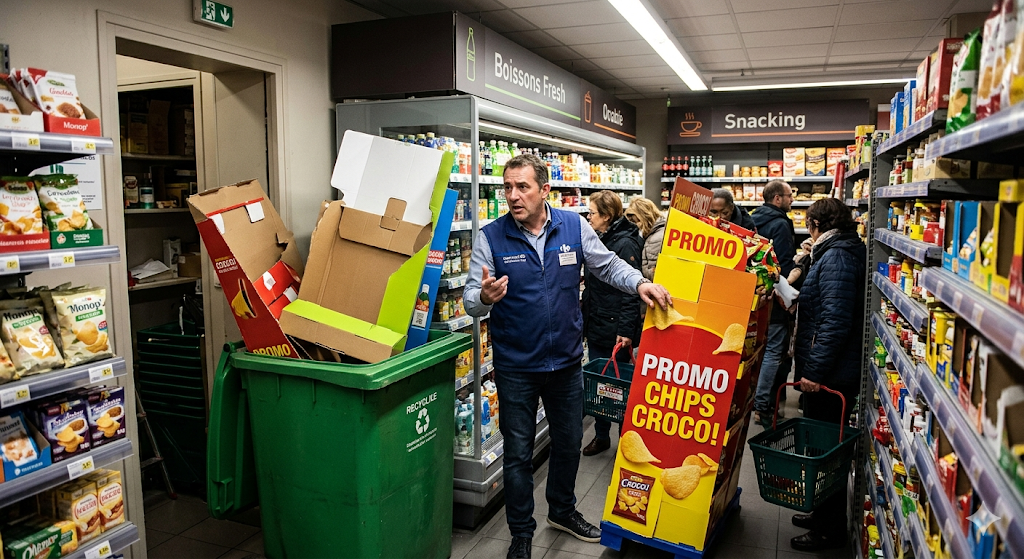
For SMEs, growing brands, and small merchandising teams, relying on external agencies for every shelf adjustment is a major obstacle. Three-week lead times for modifications, prohibitive costs for simple layout tests... the traditional model is running out of steam.
Internalizing planogram creation is no longer a luxury reserved for retail giants. Thanks to the advent of "no-code" and intuitive SaaS solutions, creating a 3D planogram is now accessible to everyone, without any modeling or graphic design skills.
This article is a comprehensive merchandising tutorial. We will demystify the technology and guide you through a five-step methodology to regain control of your point-of-sale strategy, drawing on innovations brought about by solutions such as Retail VR.
Why is internalizing merchandising expertise essential for SMEs?
Before moving on to the method, let's understand the "Why." According to a study by the POPAI institute, planogram compliance in stores often fluctuates between only 40% and 60%. Why such a discrepancy? Often because the guidelines sent by headquarters are out of date (different assortment, non-compliant furniture, not strategic, etc.), making them difficult for field teams to implement.
Internalization via easy-to-use planogram software allows you to:
- Reducing time-to-market: go from idea to validation in a matter of hours, not weeks.
- Improve compliance: 3D is a universal language. And a platform allows for real-time updates. What you see is what the department manager or area manager must reproduce.
- Reduce costs: eliminate recurring agency fees for visual creation.
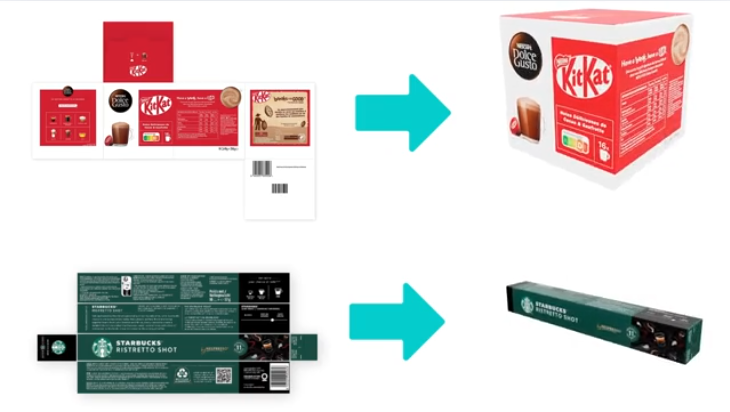
Step 1: Digitizing your product range (your own database)
The first concern users have about 3D software is the complexity of creating objects. "Do I have to draw every bottle or every box?" The answer is no.
The first step in internalizing is to build your virtual library. With modern solutions such as Retail VR, this step is largely automated.
The AI-facilitated process takes just 30 seconds to create a product.
All you need to do is retrieve the 2D images of your products and their dimensions (height, width, depth) using the Scan Products application. A category of 150 products takes about 1.5 hours to complete. The Retail VR platform is then powered by patented AI that transforms this raw data into ultra-realistic 3D objects. The software extrudes the 2D image to give it volume according to the dimensions provided.
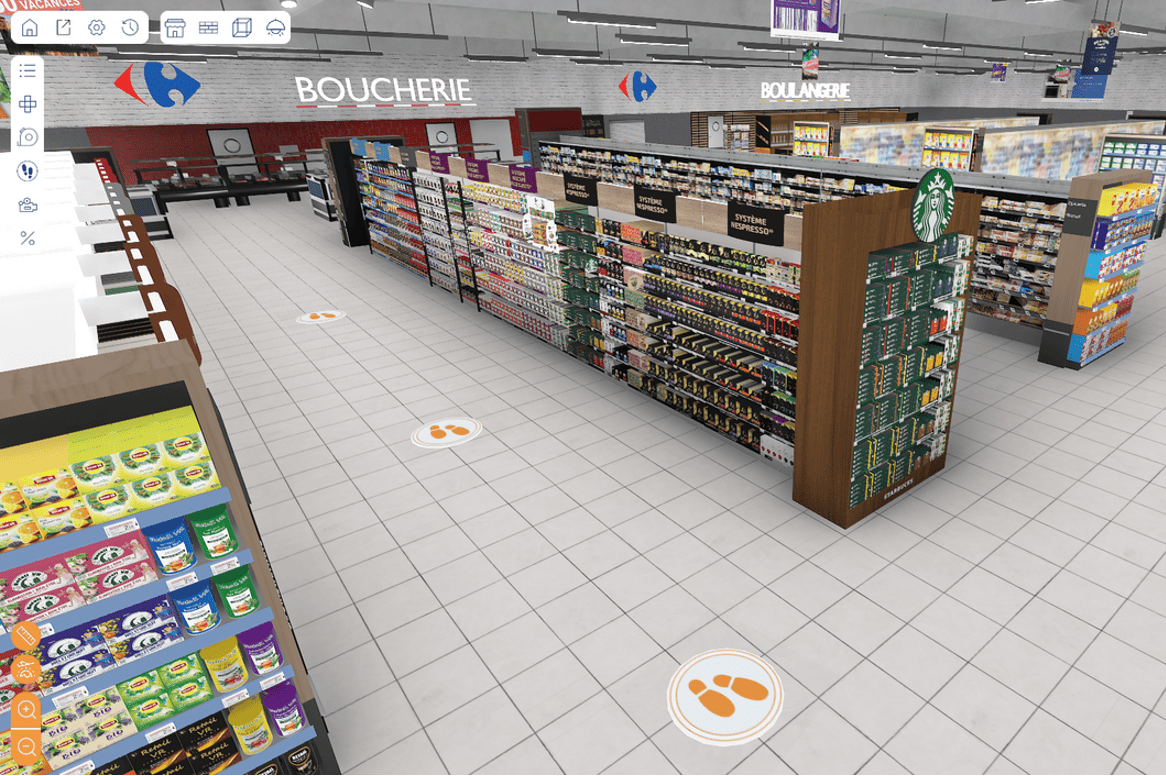
Step 2: Configuring the store environment
A realistic 3D planogram is already great for visualizing and working on it, but it is also possible to bring it to life in an environment that simulates the reality of your distributors (supermarkets, hypermarkets, pharmacies, etc.).
Retail VR already offers a library of 3D store shells specific to major retailers. But if you can't find what you're looking for, or if you want to create a very specific and highly customized store concept, nothing could be simpler! Generating furniture specific to your brand is just as easy as for your products.
The Retail VR solution: the platform offers typical store environments or allows users to import a 3D model of a real store. This allows brands to showcase their products not against an abstract white background, but in a realistic competitive context, alongside products from other brands.
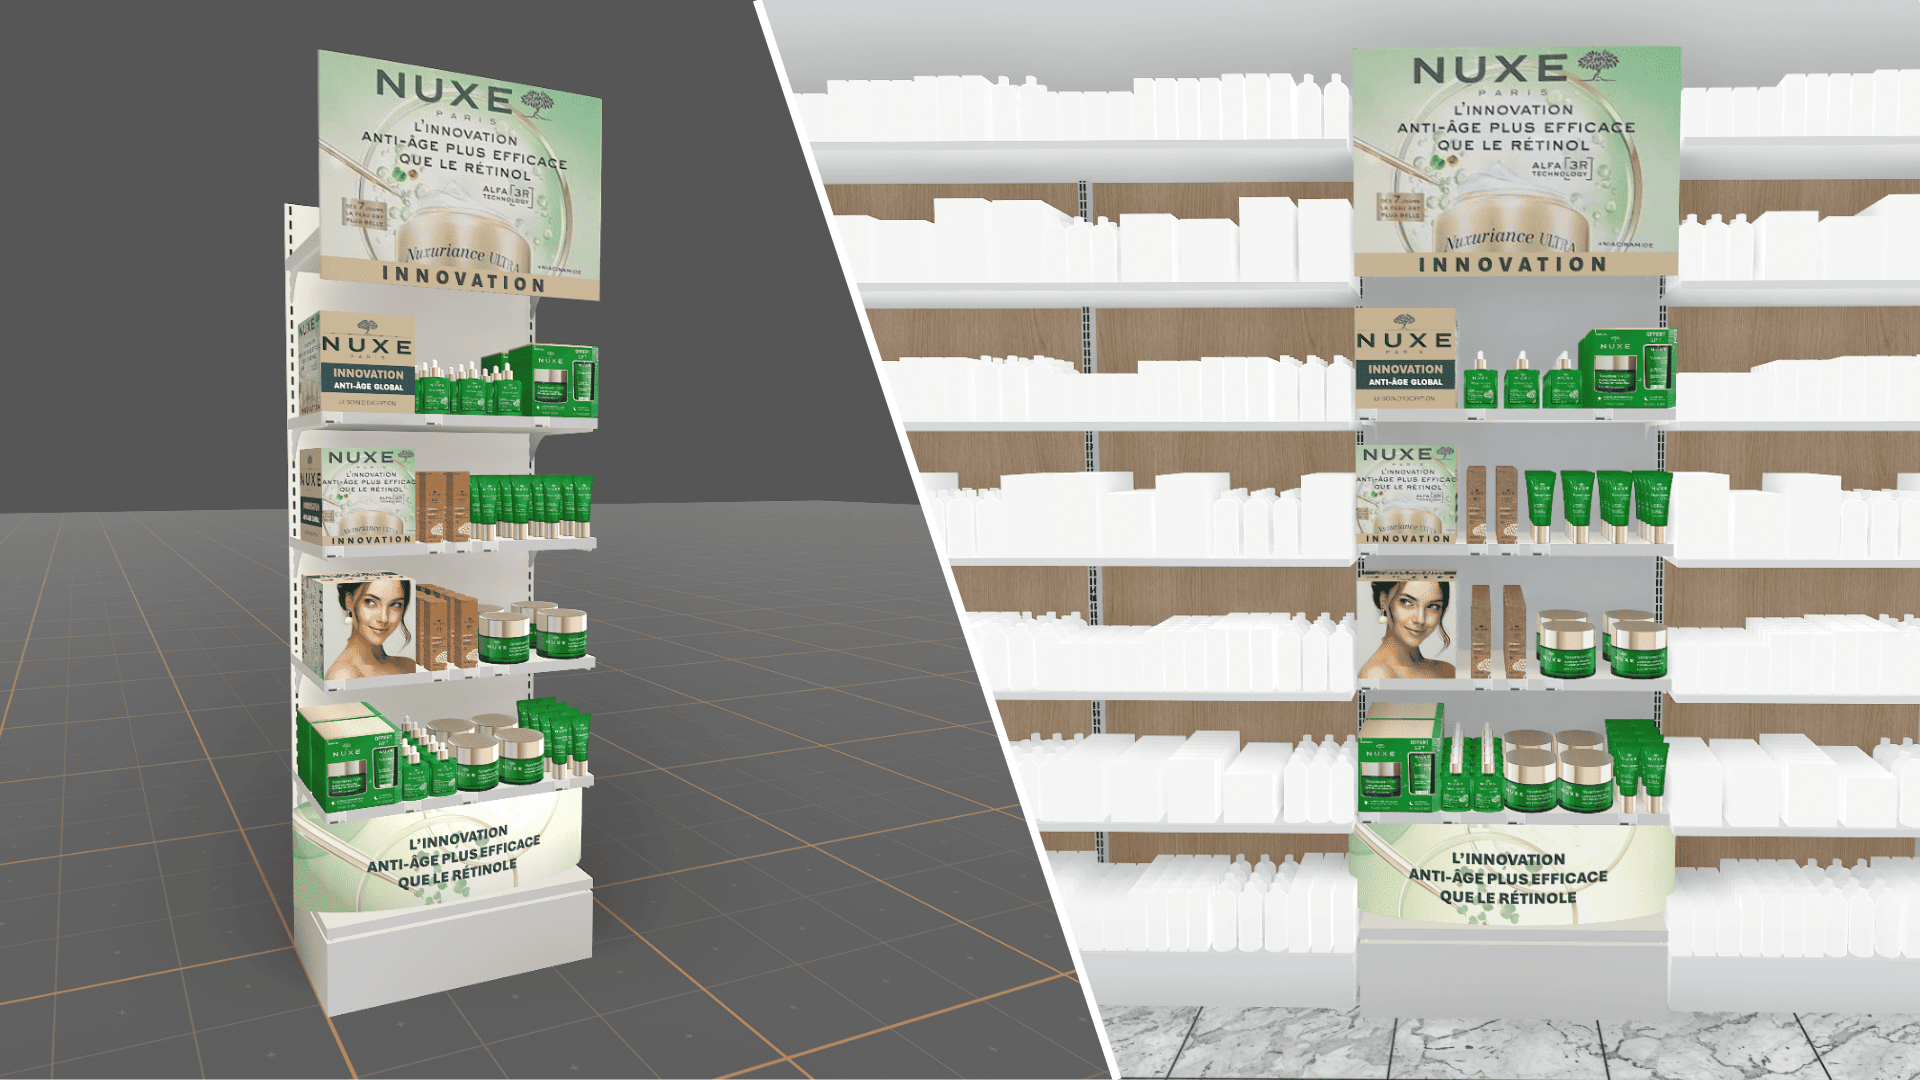
Step 3: Creating the planogram
That's the crux of the matter: creating a 3D planogram without any friction. If you know how to use an e-commerce site or a tool like Canva, you know how to use these new merchandising tools. Proof of this is that our solution is used by more than 1,500 students in merchandising courses.
The methodology in action:
- Drag & Drop: from your library (created in step 1), drag products directly onto the virtual shelves.
- Physics management: intelligent software manages collisions. Products do not overlap; they automatically "lock" into place against each other.
- Quick duplication: need to create a display of four products? One click instantly multiplies the item.
Importing and viewing data:
This is where the tool goes beyond mere aesthetics. By internalizing, you connect your merchandising to your sales data.
- Performance heatmaps: View hot and cold spots based on your sell-out data directly on the 3D map.
- Profitability calculation: The software calculates shelf space, assortment share, and theoretical shelf stock in real time.
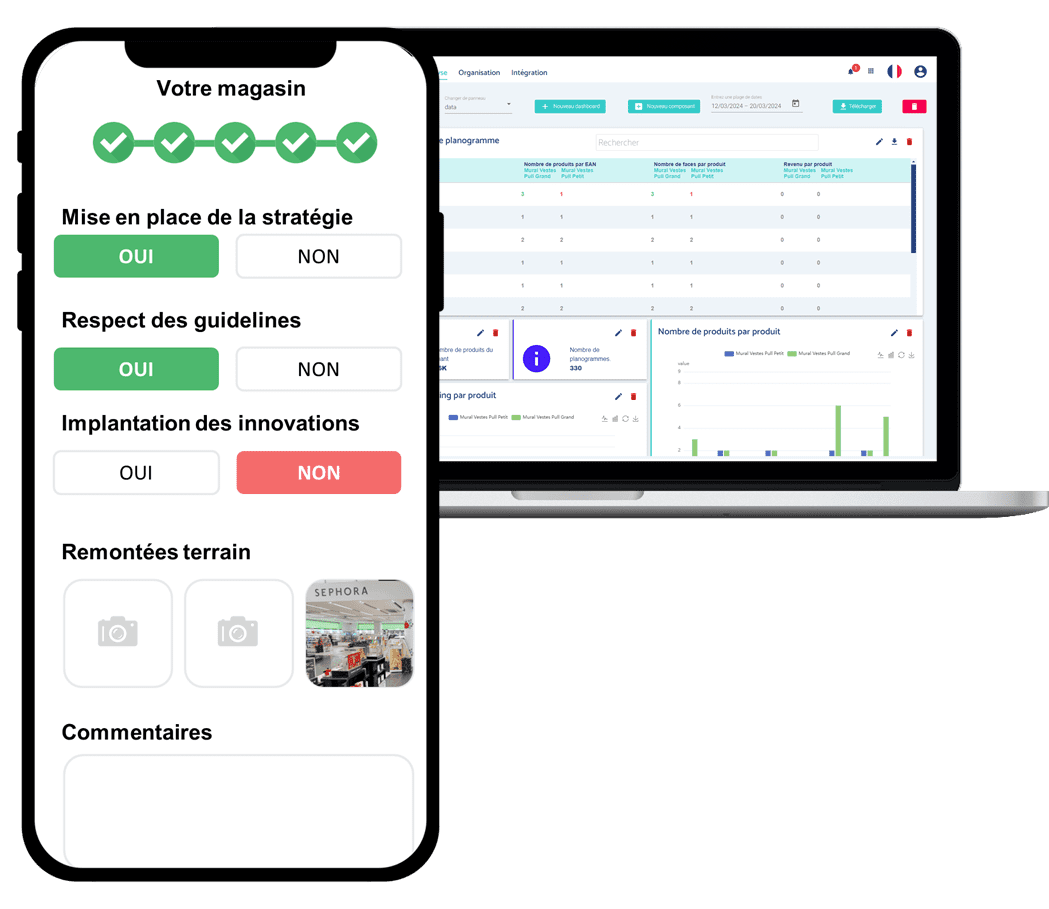
Step 4: Collaborative validation (virtual testing)
One of the biggest pain points for merchandising teams is the internal approval cycle. Back-and-forth email exchanges of PDF files create outdated versions and confusion.
By internalizing on a SaaS platform, you switch to collaborative mode:
- Link sharing: instead of sending a large file, you send a secure link to your sales or marketing department.
- Immersion: decision-makers can view the planogram from all angles, even in virtual reality if they have the necessary equipment, or simply on a tablet.
- Live comments: changes are requested directly in the tool ("Move this product higher up," "Increase the facing of the new product").
This step transforms the planogram from a technical document into a sales support tool.
Step 5: Deployment and field training
You have your 3D planogram. It has been approved. Now it needs to be implemented. This is often where the problem lies ("Execution is the graveyard of strategy").
Modern tools such as Retail VR facilitate this transition from headquarters to the field:
- Automatic export: generate visual planograms (3D rendering) and technical planograms (layout plan with product list) in just one click.
- Mobile accessibility: sales teams can access the 3D planogram directly on their smartphones in-store. They can compare the actual shelf layout with the 3D target in real time.
- Before/After Comparison: Some solutions incorporate AI to analyze a photo taken by the sales representative and automatically compare it to the 3D planogram to validate compliance.

Why choose a solution like Retail VR?
In the jungle of software, why does a specific solution like Retail VR better meet the needs of SMEs and growing brands?
- All-in-One approach: it does more than just create planograms. It enables store simulation, POS advertising creation, and sales activation.
- Zero learning curve: the interface is designed for Category Managers, not architects. It really is aneasy-to-use planogram software program . Training timeis reduced from 1 to 2 days for traditional software to just 2 hours.
Market data: Brands that use 3D to train their sales forces and validate their locations see an average increase of 20% in the adherence of field teams to merchandising guidelines.
FAQ: Answers to your questions
Do you need a powerful computer to create a 3D planogram?
No. With SaaS solutions such as Retail VR, the calculations are performed on remote servers. A standard office laptop or even a tablet is sufficient to create and view the plans.
How long does it take to learn how to use easy planogram software?
For a business-oriented, no-code solution, allow half a day to learn how to use it independently. This is not technical training, but training in how to use the tool.
Is it profitable for a small product range (fewer than 50 items)?
Yes. The visual impact needed to convince a department manager to stock 50 items instead of 40 is decisive. 3D technology makes it possible to prove that "it fits" and that it looks good. What's more, the cost of the license is often recouped after the first successful restocking (time savings + increased revenue).
What is the difference between a 2D and 3D planogram?
2D is schematic (colored squares with names). 3D is realistic (volumes, packaging, shadows). 3D reduces cognitive ambiguity: the brain immediately understands the image, which reduces execution errors in stores by nearly 30%.
Conclusion
Technology has broken down the barrier of technical expertise. Today, with a clear method and a suitable tool such as Retail VR, a two-person merchandising team can deploy a strategy as effective as that of a multinational corporation by creating planograms, launching studies, developing trade marketing materials, training its teams, and ensuring resale to purchasing centers.
Don't let deadlines dictate your sales performance. Take control of your shelf space projects.

.webp)
.webp)
.webp)

